


How to hang a wall clock correctly: height, spacing, and positioning
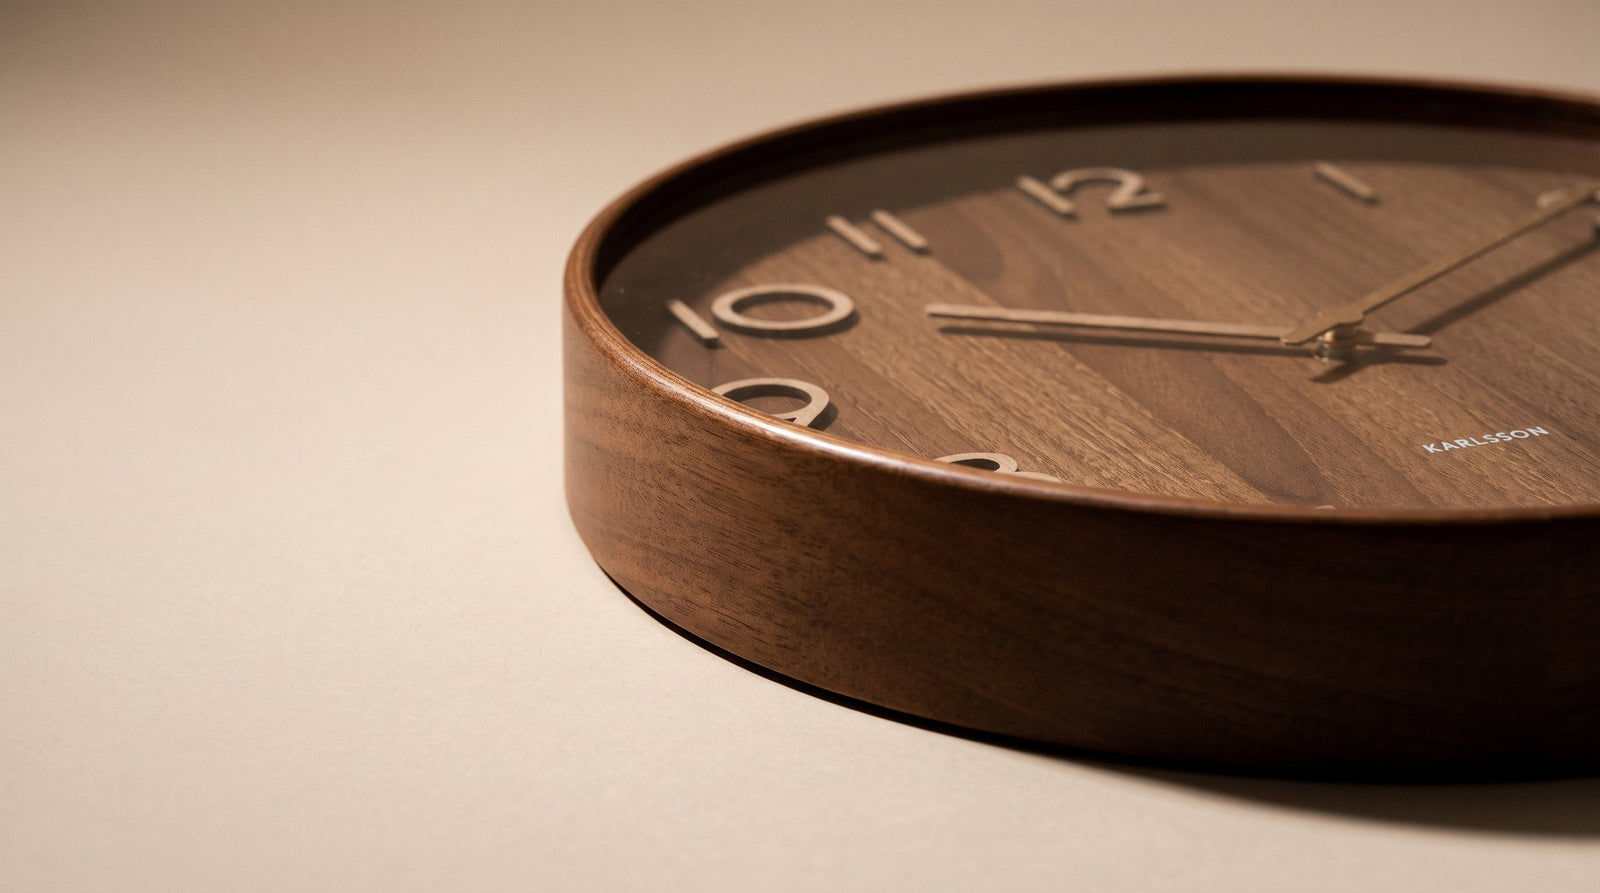

Anyone buying a new wall clock is quickly faced with the question of where and how to mount it on the wall: too low, and it gets lost among the furniture; too high, and the dial looks out of place. Then there are questions about the right wall plug, the distance from the door frame, and whether adhesive mounting will even hold. This article answers these questions step by step.
The answers apply to all common wall clock formats, from small quartz models with a 25 cm diameter to large-format wooden clocks with a 60 cm diameter. Where measurements matter, they are specified concretely so you can check the result before drilling the first hole.
Eye level or room accent: the right hanging height for different rooms
A rule of thumb that applies to most living spaces: the center of the dial should hang 150-160 cm above the finished floor. This corresponds to the average eye level of a standing adult and ensures that the time can be read without tilting your head. However, there are sensible exceptions depending on the room and the function of the clock.
Living room and hallway
If the clock hangs above a sofa or a dresser, two distances apply simultaneously: the center of the clock should be at least 20-25 cm above the highest point of the furniture so that the clock and furniture do not visually merge. At the same time, the bottom edge of the clock should not hang more than 60 cm above the sofa seat, otherwise the wall will look disproportionately high. Combining these two requirements: for a typical sofa with a 90 cm backrest, this results in a center point between 140 and 160 cm. In the hallway, where you are almost always standing, the eye-level rule of thumb applies directly.
Kitchen and bathroom
In the kitchen, the clock often hangs above the work area or between upper cabinets. Here, readability from a distance is more important than eye level. A position 170-180 cm above the floor is often more sensible there because free wall space is rare. In the bathroom, there are additional requirements regarding the moisture resistance of the clock. Anyone hanging a normal clock there risks fogging on the inner glass and corrosion in the clockwork. Models explicitly designated as waterproof are suitable for this room.

Children's room and office
In the children's room, a lower position is recommended so that children can read the clock themselves: 120-130 cm center height is a sensible starting point. In the office, the most important thing is that the clock is visible from the workstation without moving. The correct height therefore depends on whether you are sitting or standing.
Wall area and clock diameter: rule of thumb and calculation method
The size of the clock should match the area of the wall on which it hangs. A clock that is too small gets lost on a large wall; a clock that is too large fills a small niche and looks intrusive. There is a simple rule of thumb: the diameter of the clock should be between one-third and one-half of the free wall width.
| Free wall width | Recommended clock diameter | Example format |
|---|---|---|
| 60-80 cm (niche, stair landing) | 20-30 cm | Small quartz clock, bathroom clock |
| 100-150 cm (hallway, kitchen wall) | 30-50 cm | Standard format, radio-controlled clock |
| 200-300 cm (living room wall, dining room) | 50-80 cm | Large format, wooden clock |
| over 300 cm (open living area) | 80 cm and more | Statement clock or clock group |
The calculation is simple: wall width in centimeters divided by three gives the minimum diameter, divided by two gives the maximum. For a 240 cm wide living room wall, that would be 80-120 cm. If you are hanging a single clock, it is better to stay at the lower end of this range; if you are accompanying the clock with other pictures, you can also choose a smaller one.

Distance to furniture, doors, and other pictures
In addition to height, the distance to adjacent elements determines whether the clock sits visually correctly or looks cluttered. The following minimum distances have proven to be a practical guide.
Distance to furniture top edges
At least 20 cm of space should remain between the bottom edge of the clock and the top edge of a piece of furniture below it. Less than 20 cm makes the clock and furniture merge; more than 50 cm breaks the connection between the two elements and makes it look randomly placed.
Distance to door frames and windows
A minimum distance of 15-20 cm applies to door frames and window reveals, measured from the outer edge of the clock to the frame. Anything less and the clock visually collides with the frame, and with larger clocks, there is also the risk that an opening door will brush against the dial.
Distance to pictures and other wall objects
If the clock is part of a picture wall or gallery wall, the distance between the clock and the picture should be at least 5-8 cm, based on the outer edges of both objects. More distance makes each object appear as an independent element; less makes them grow together into a group, which is only intended if all objects are deliberately placed as a unit.
| Adjacent element | Minimum distance (outer edge) | Note |
|---|---|---|
| Furniture top edge below | 20 cm | Bottom edge of the clock as a reference point |
| Door frame or window reveal | 15-20 cm | Outer edge of the clock as a reference point |
| Picture or other wall object | 5-8 cm | Outer edge to outer edge |
| Room corner | 15 cm | Visual margin, not a technical requirement |
More design ideas for wall clocks as a design element can be found in the article Wall clocks as a design statement in the home.
Wall plugs, hooks, or adhesive mounting: which fastening for which wall
The type of fastening depends on three factors: the weight of the clock, the wall material, and your willingness to drill holes. Choosing the wrong system risks either a falling clock or unnecessarily high effort for a lightweight model.
Solid wall made of concrete or masonry
For walls made of concrete or masonry, an impact plug with a matching screw hook is the most reliable solution. The drill diameter and plug type must match. For clocks up to about 1 kg, a 6 mm plug is sufficient; heavier models made of metal or with a solid wood housing need 8 mm. The drill bit must be designed for stone or concrete; a normal wood drill bit will become blunt without penetrating deep enough.
Plasterboard wall (drywall)
Plasterboard walls only offer sufficient support where there is a wooden or metal stud behind them. Without a stud, you need a cavity wall plug (also called a toggle anchor), which expands behind the panel. For clocks up to 2 kg, a single cavity wall plug is sufficient. Heavier clocks should be attached to a stud, which is located beforehand with an electronic stud finder.
Adhesive mounting without drilling
Adhesive hooks, as available on the market under various brand names, are suitable for smooth surfaces (tiles, painted walls, glass) and clocks up to about 500-800 g. The load-bearing capacity is always on the packaging and should not be pushed to the limit, as temperature and humidity influence the adhesive strength. Before sticking, clean the wall with isopropyl alcohol; grease and dust significantly reduce adhesion. Adhesive mounting is ideal for lightweight plastic models and for rental apartments where drill holes should be avoided.

For an overview of radio-controlled clocks and their special features during setup, the article is worth reading AMS wall clocks: modern timepieces for every home.
Practical preparation: determine position before drilling
To ensure the drill hole is in the right place on the first try, the following procedure is recommended: first, mark the desired height with a pencil line. Then stick a small piece of masking tape where the hook should be and transfer the mark onto it. The masking tape prevents the drill from slipping when starting on smooth plaster or tiles. After drilling, remove the tape, vacuum up the drilling dust, insert the plug, and screw in the screw. Only then hang the clock and check with a spirit level whether it is hanging straight.
Plan for battery changes and accessibility when hanging
This point is often forgotten during planning and takes its toll later: how do you reach the clockwork after hanging it? For most wall clocks, the clockwork and thus the battery compartment cover are on the back. This means the clock must be taken down to change the battery. This is not a problem as long as the hook is easily accessible and the clock is not hidden behind a piece of furniture.
Anyone planning a clock above a sideboard that is difficult to move or in a narrow niche should check beforehand whether the battery compartment is also accessible from the side or front. Some models have a front opening in the dial for battery changes. Radio-controlled clocks that synchronize automatically with the time signal require less intervention, but the battery must still be changed every 1-3 years.
For clocks that hang very high, the following applies: either plan the battery change using a stable stepladder or choose a model with a long replacement cycle. Solar-powered wall clocks that convert light energy into a rechargeable battery largely avoid the problem in bright rooms.

Checklist: Before the first drill hole
- Center height measured and marked with a pencil line (reference value: 150-160 cm above finished floor, adjusted to room and usage).
- Distance to furniture top edge checked: at least 20 cm between the bottom edge of the clock and the top edge of the furniture.
- Wall material determined: solid wall, plasterboard, or tiles. Fastening material chosen accordingly.
- Load-bearing capacity of the fastening checked against the weight of the clock. Plug diameter and screw length noted.
- Location of power and water lines at the drilling point checked with a stud finder.
- Accessibility of the battery compartment checked after mounting. Is a stepladder or free wall space available?
- Radio-controlled clock: reception checked at the planned location. Signal reception is occasionally weak in thick concrete walls or basement rooms.
- Position simulated in advance with tape or a Post-it before drilling.


